What Is Inventor?
Inventor is a computer-aided software that is used to design 3D digital prototypes. Inventor is a software where you design a 3D protoype, which then can be put on a flash drive and printed on our Makerbot 3D printers. Inventor is capable of making any size prototype you desire. Students to engineers, inventor has a vast population of users from different career fields. On inventor, you can design any creation you wish to. Using scales and extruding you will have an amazing 3D prototype.
Designer Notebook Widgets
Step By Step Widget

- Step 1:
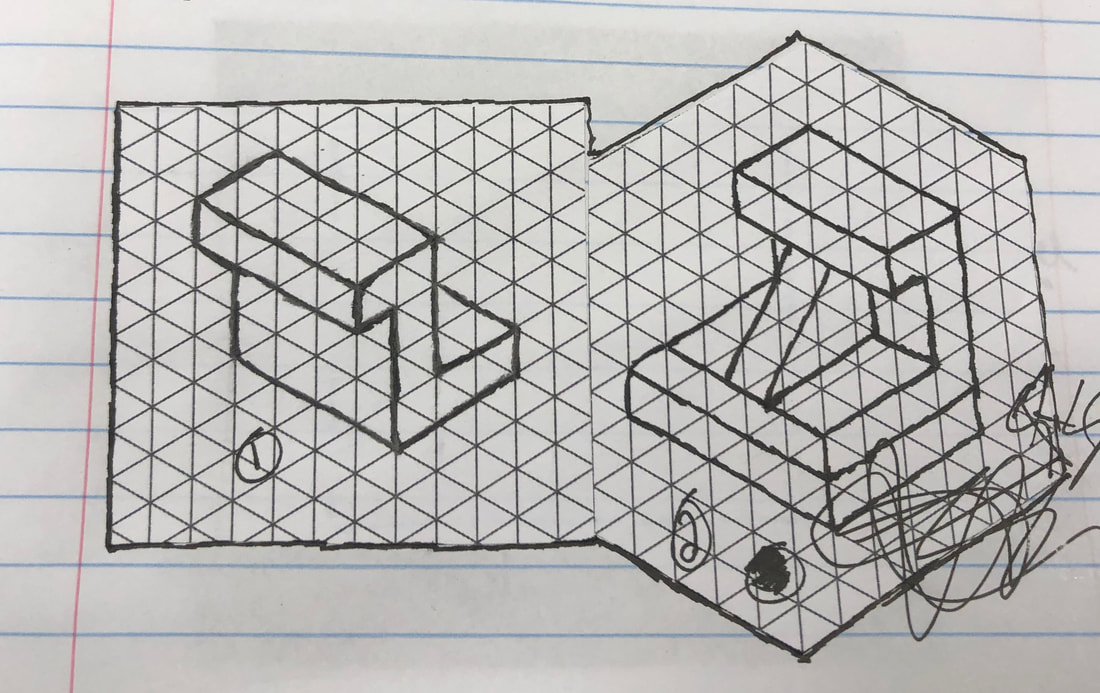
- I created the outside of my widget from the front angle. First I created line 1. Line 1 was scaled to .500, which is 1/2 in. Second, I created line 2. Line two was scaled to 1.000, which is 1 in. Last, I created line 3. Line three was the same as line 1. It was scaled to .500, which is 1/2 in. All of these lines were created using the line tool.
-

Step 2:
I created line 4. Line 4 is scaled .250, which is 1/4 in. This line was created using the line tool
I created line 4. Line 4 is scaled .250, which is 1/4 in. This line was created using the line tool

Step 3:
I created line 5. Line 5 is scaled at .750, which is 3/4 in. This line was created using the line tool
I created line 5. Line 5 is scaled at .750, which is 3/4 in. This line was created using the line tool

Step 4:
I created line 5 (line 5 is the last line created. Text was NOT inputtable). Line 5 is scaled at .250, which is 1/4 in. This line was created using the line tool.
I created line 5 (line 5 is the last line created. Text was NOT inputtable). Line 5 is scaled at .250, which is 1/4 in. This line was created using the line tool.

Step 5:
I created line 6 (line 6 is the last line created. Text was NOT inputtable). Line 6 is scaled at .250, which is 1/4 in.
This line was created using the line tool.
I created line 6 (line 6 is the last line created. Text was NOT inputtable). Line 6 is scaled at .250, which is 1/4 in.
This line was created using the line tool.

Step 6:
I created line 7 (line 7 is the last line created. Text was NOT inputtable). Line is scaled at .750, which is 3/4 in.
This line was created using the line tool. In this step, I also deleted to excess line, located at the base.
I created line 7 (line 7 is the last line created. Text was NOT inputtable). Line is scaled at .750, which is 3/4 in.
This line was created using the line tool. In this step, I also deleted to excess line, located at the base.

Step 7:
This is the final step. In this step, I used the extrude tool, located in the top right of inventor, to convert this image from 2D to 3D. I extruded this widget 1 in out.
This is the final step. In this step, I used the extrude tool, located in the top right of inventor, to convert this image from 2D to 3D. I extruded this widget 1 in out.
Other Widgets


MakerBot Desktop

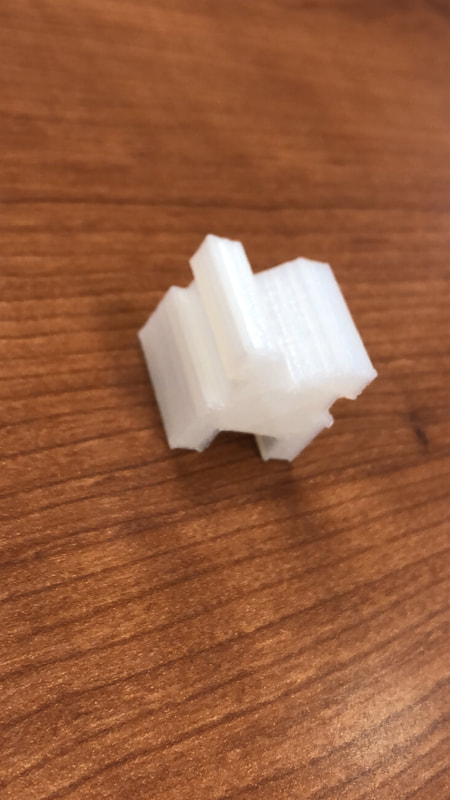
Next, I used MakerBot to print my widget off. Our 3D printers use MakerBot as it's software to 3D print designs. In MakerBot, I layed my design flat and scaled it at 1000%. After this, I put my design on a flash drive and imported it on to a 3D printer.

MakerBot preview screen of my widget
Final Widget
Summary Of Inventor
In inventor, I learned a lot of things. I learned that inventor is very procedural and very easy to mess up on. I learned that you can basically design anything you want and print it out on the 3D printer. Inventor is used to create prototypes and design things you desire. After you design them I learned that you are able to print them off using MakerBot and the 3D printer itself. I learned how to 3D printer works and what things are such as fillment. I also learned how things in inventor itself works as well. During this introduction, I also learned how to draw and scale widgets. Overall I learned how MakerBot, the 3D printer, and inventor work in depth.
