Idea To Creation
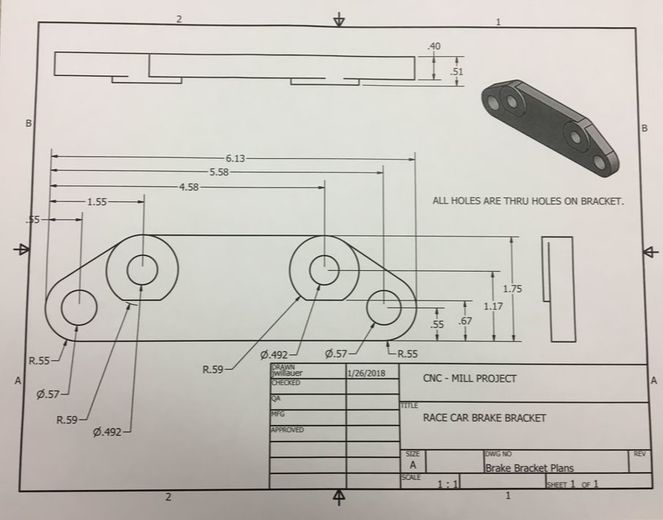
We didn't really get to choose our design for this project, also known as the brake part. Mrs. Proctor gave us a blueprint that we followed to create this project.
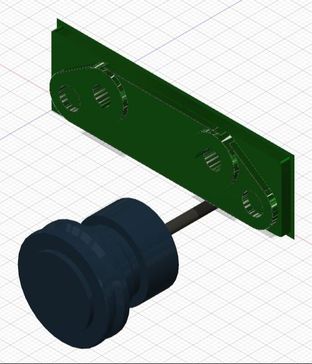
Inventor
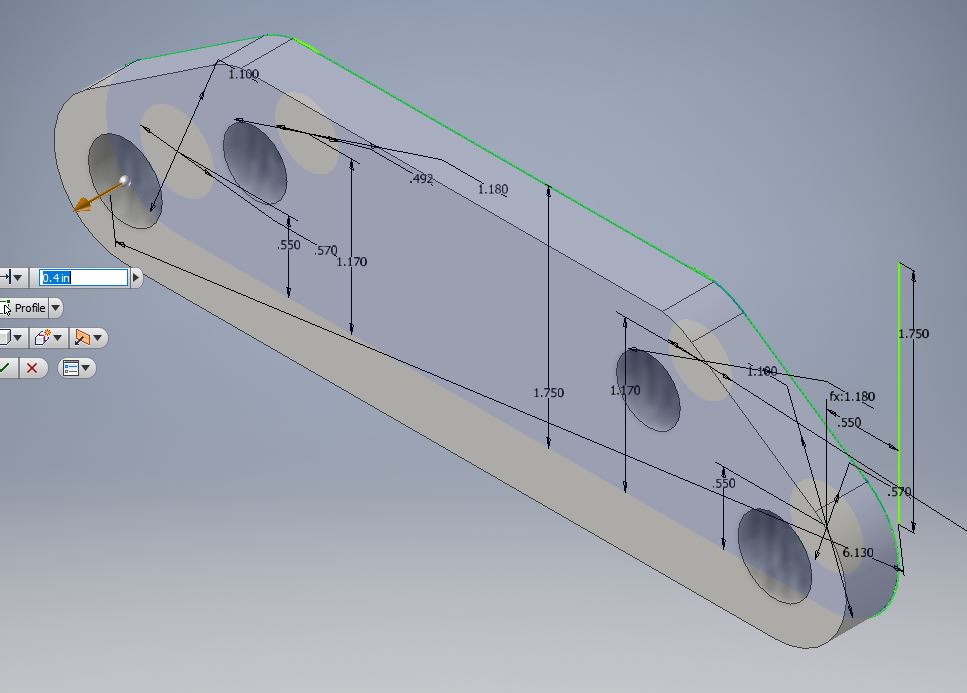
After being given a few constraints, I used Adobe Inventor to create my brake bracket using.
|
|
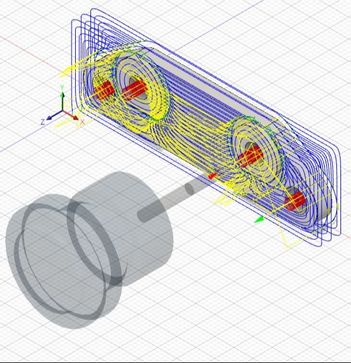
Fusion 360
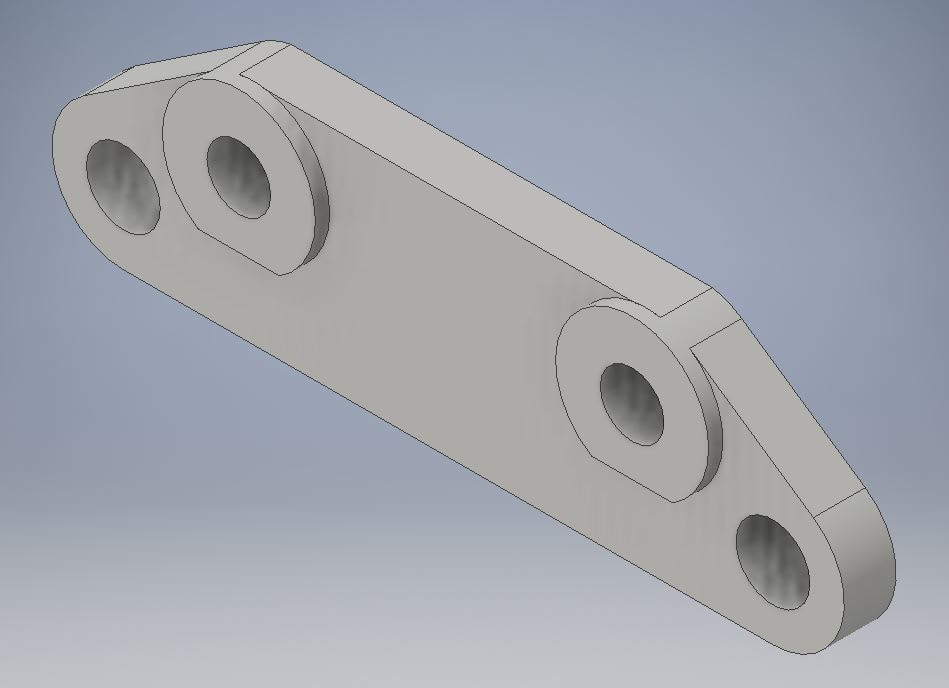
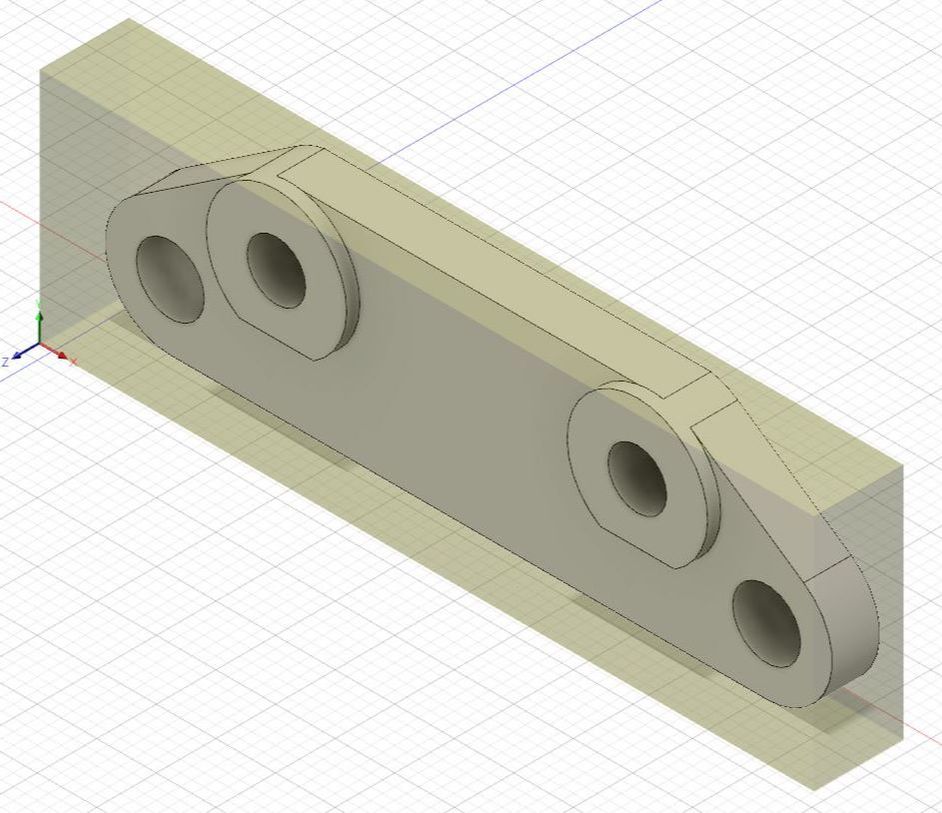
After creating the brake brake in Inventor, I loaded it into Fusion 360 so then the Mill could read it and cut it out. To do this, I used the 3D adaptive clearing process, Finally, I checked that the Mill would be able to cut this out by simulating the process.
|
|
|
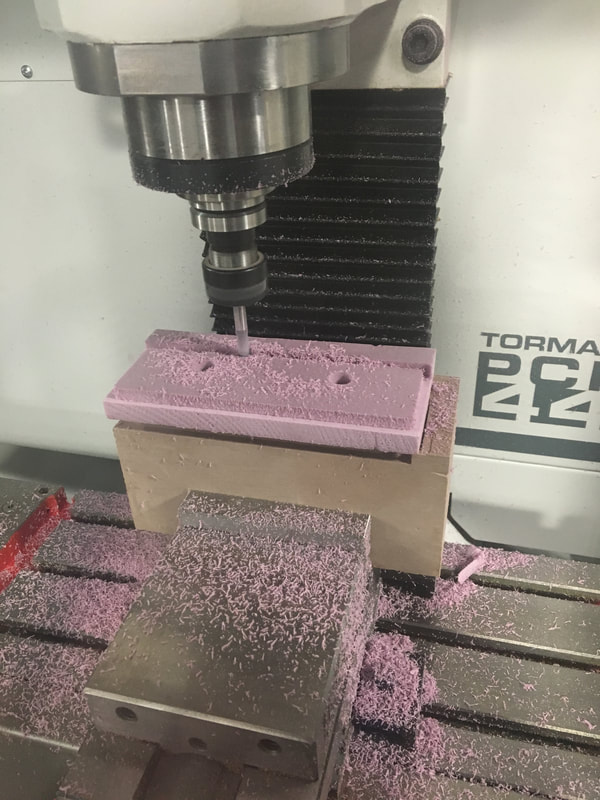
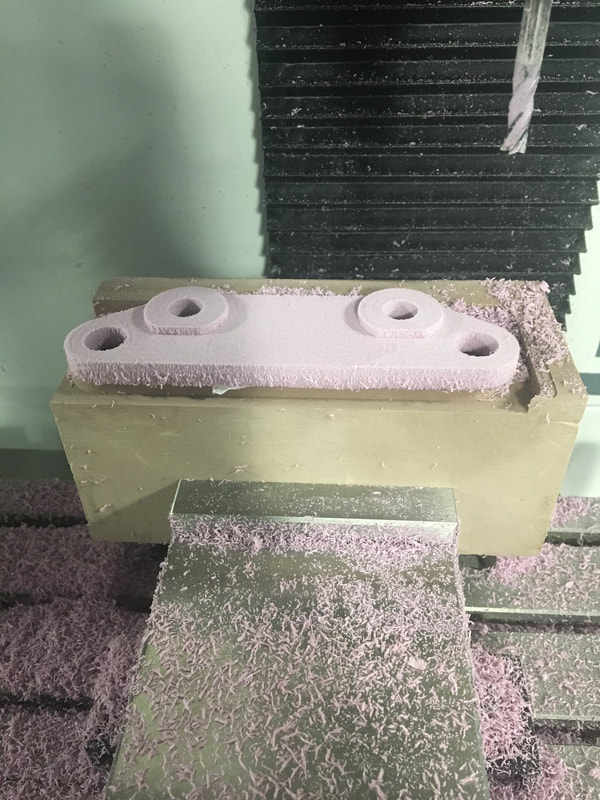
After, I saved my file on my class flash drive and took it down to the mill. Then, I put some tap on my foam piece to hold down the material. Lastly, I transferred the G-Code from my USB to the Mill computer.
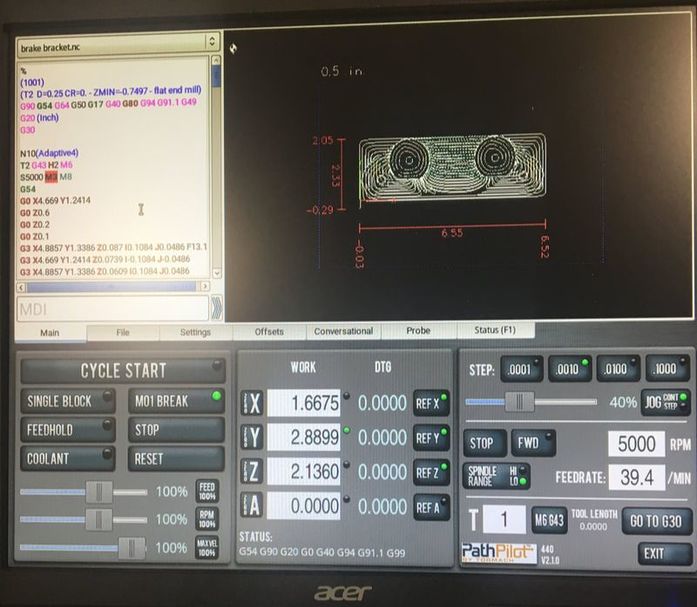
Finally, I moved the stock box to the bottom left corner of the foam. After aligning, I zeroed out X, Y, and Z. Lastly, I started the cycle and held my hand over the space bar just in case anything went wrong. The space bar will pause the process and prevent further damage.
|
|
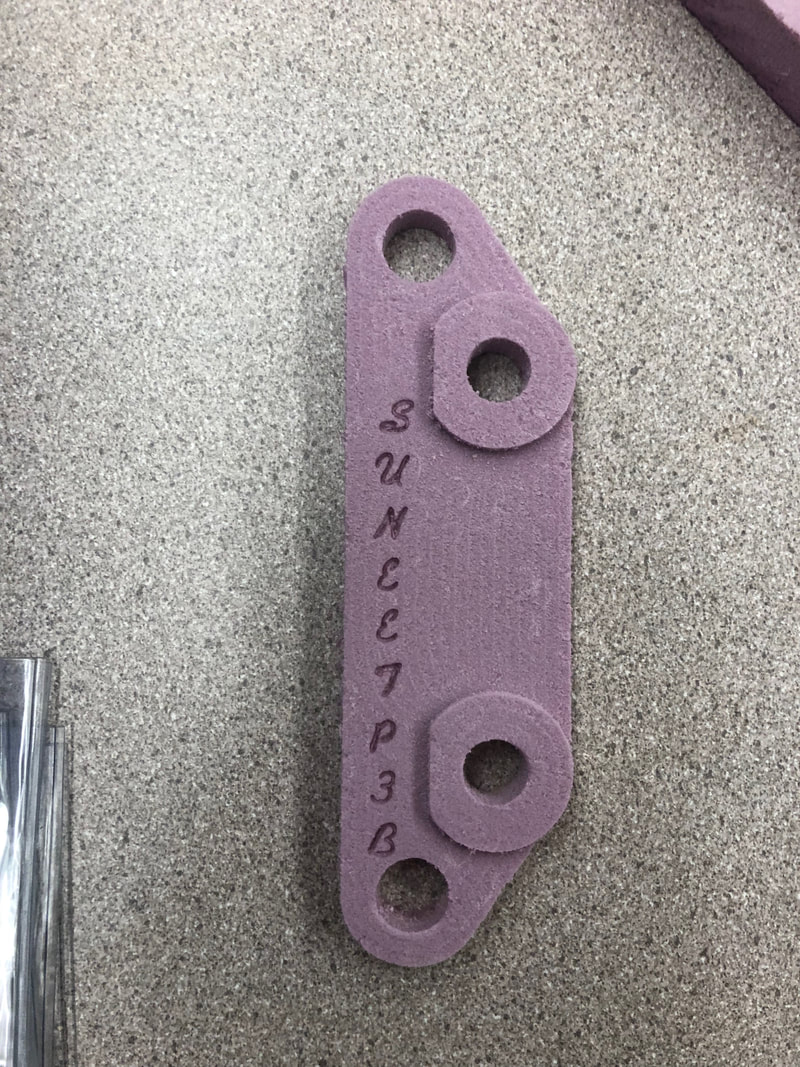
Engraving
I used Inventor to then engrave my name into my brake part. I used a special shade of blue and a stroke of .0001. This will then engrave my name in the part.
Final Project
Summary
I learned a lot of things during this project. First, I learned how to use the laser again. It had been awhile since I used the laser prior to this project. I also learned that setting up to mill was hard at first, but then easy once I actually did it. I also learned that Fusion 360 is a complicated software but easy if you follow the handout.
