Making A Clock
Our final task for IDEA was to make a working clock. While making a clock we had a few constraints. We had to use at least 3 different Innovation Center equipment. We also had to measure out material and made sure that the clock piece itself will fit into the clock. My idea for this clock was to make a clock that sat up, hanged, and was also circle at the same time. I also wanted to make my clock white. The three machines I used were the, 3D printer, the laser, and the vinyl cutter.
Pre-Sketch/Pre-Search
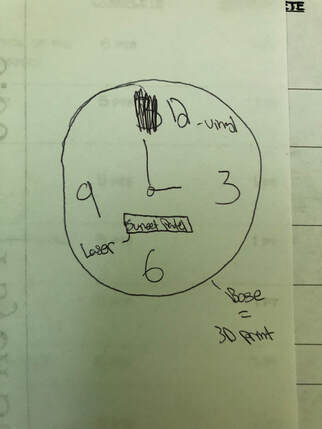
|
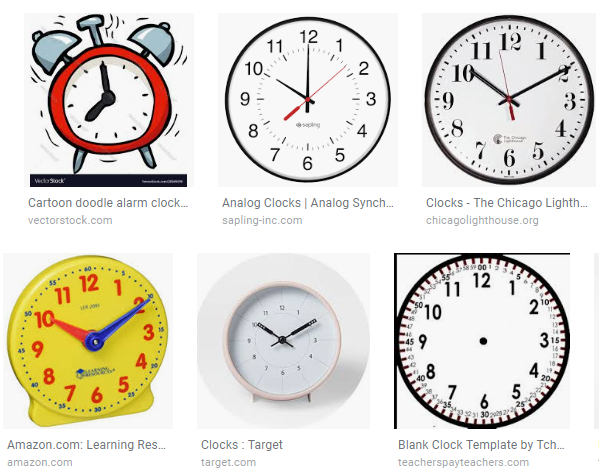
|
Recipe
During this project, I used 3 different machines. The 3 different machines I used were the 3D printer, the laser, and the vinyl cutter
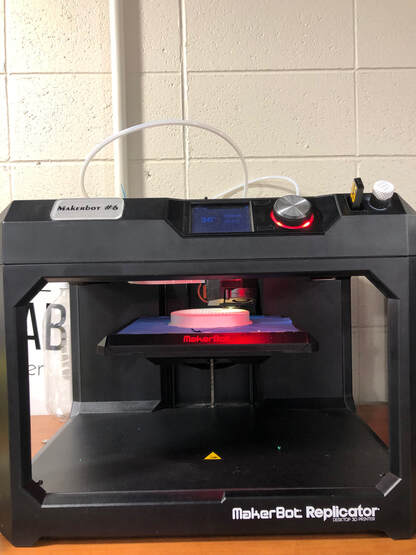
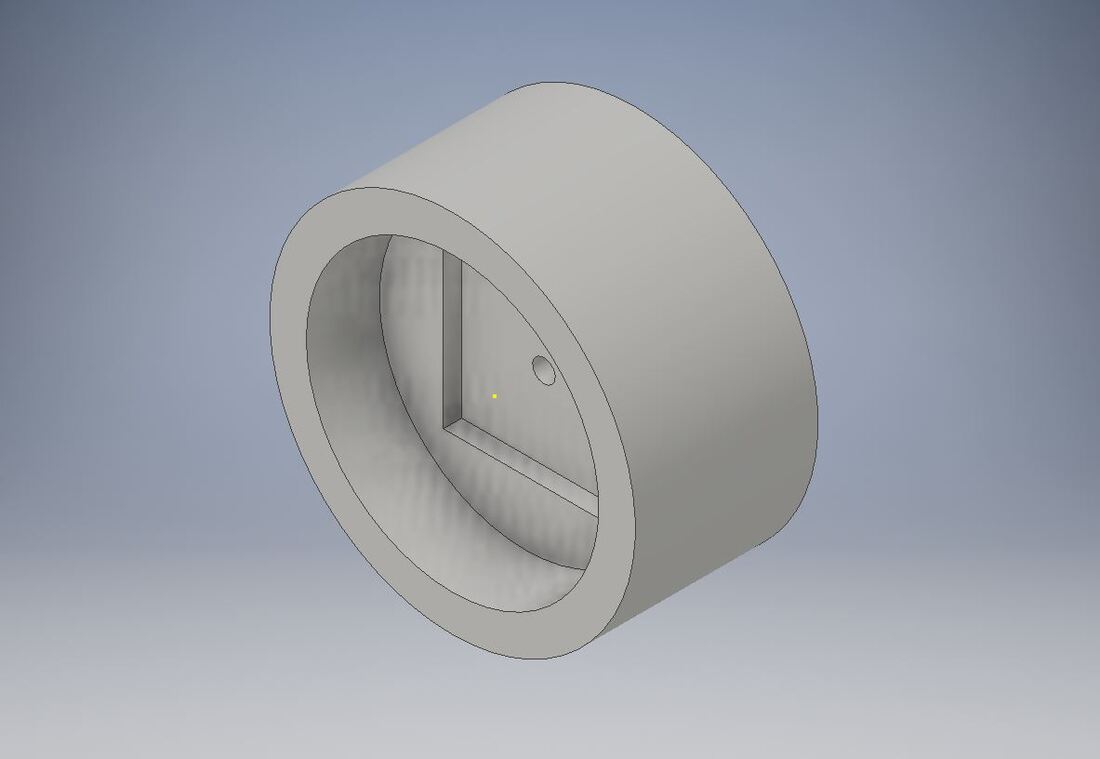
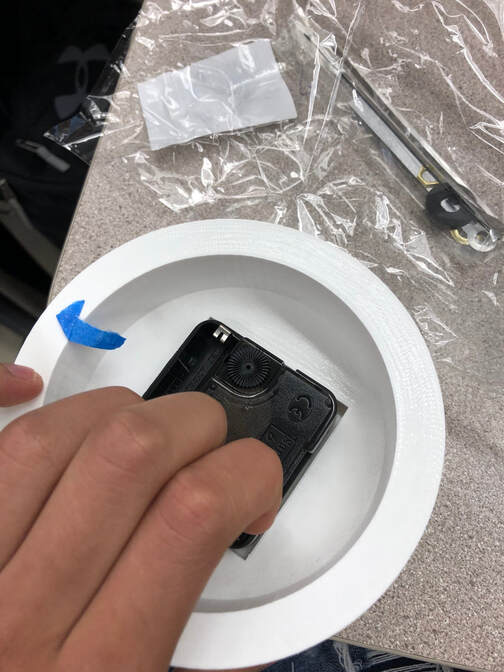
Step 1: Inventor-3D Printing
For my first machine, I used the 3D printer. I used Adobe Inventor to create the base of my clock. The base was 5 inches in diameter and 2.5 in deep. I also extruded out a square piece for the clock piece to fit in. Then after creating the basic shape, I extruded everything to its appropriate size.
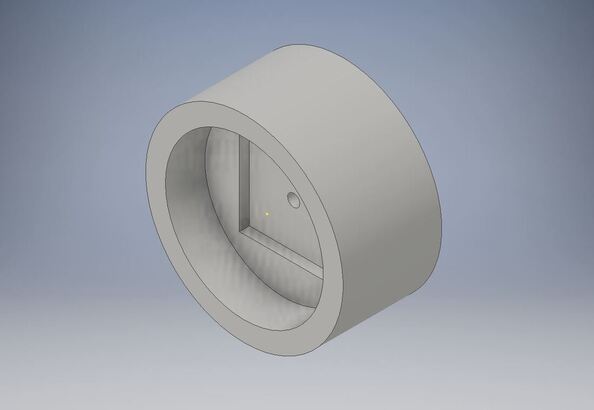
Then I saved my designed project to my flash drive. After that, I opened my project up on maker-bot. Maker-bot is a software that tells the 3D printer on what to print. So first, I loaded my file on maker-bot. Then, I layed the object flat and it didn't need any supports because I didn't have any overhangs. Lastly, I scaled my project from 100% to 1000%. Also after that step, I checked to make sure everything else was set like Smart-extruder +. And then I printed it out

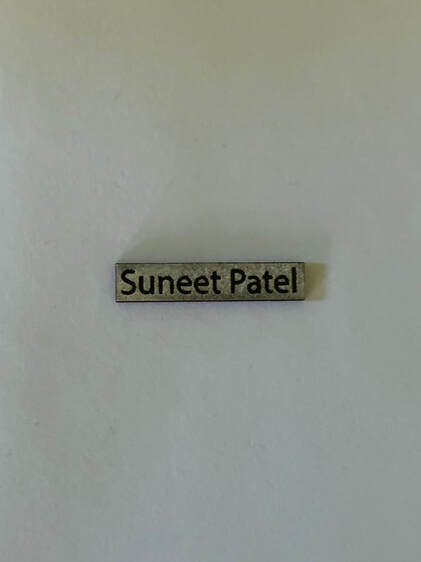
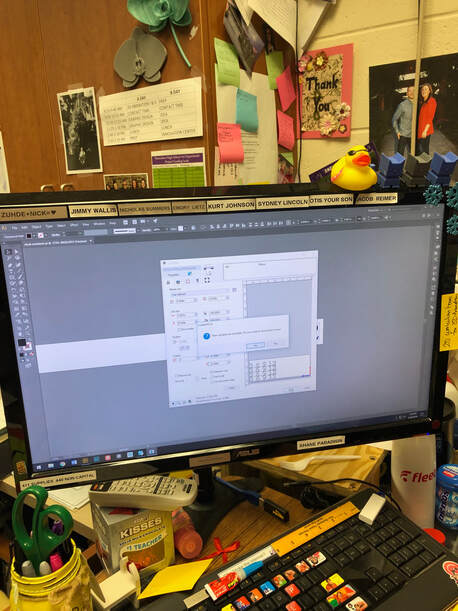
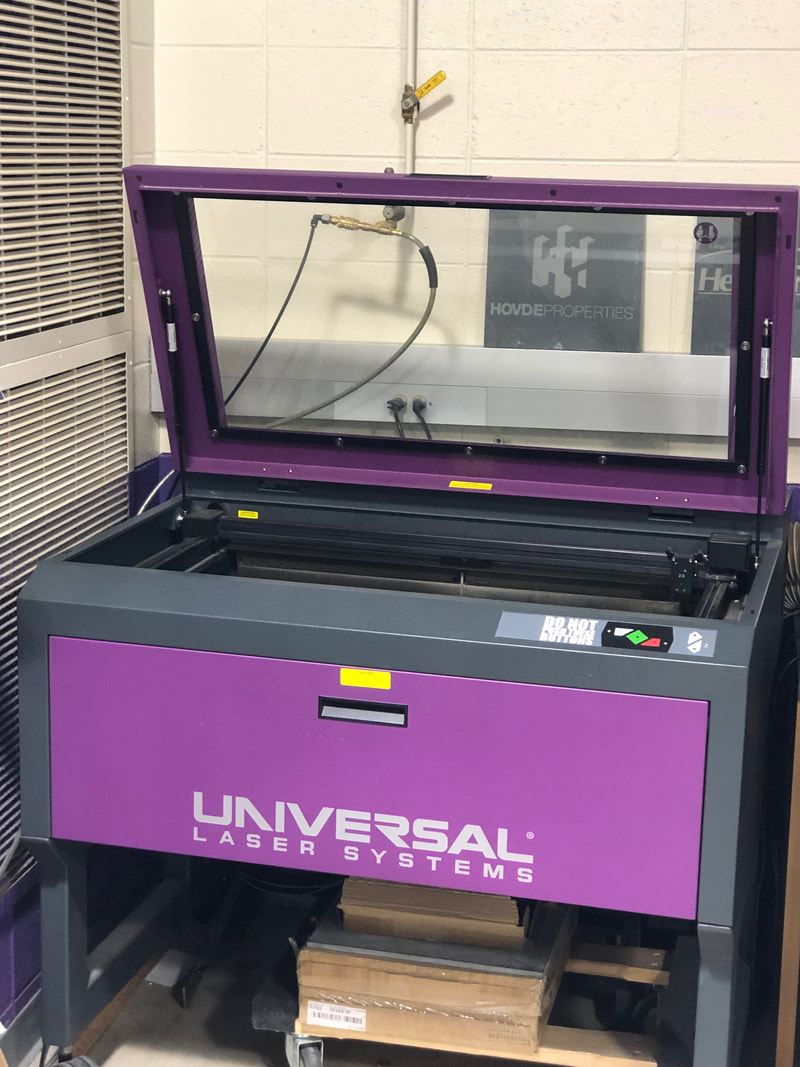
Step 2: Illustrator-Laser
For my second machine, I used the laser. I used Adobe Illustrator to create a text of my name. I created a little name tag. First, I opened up a illustrator workspace. Then, I typed my name out and made a box around the text. Lastly, I changed the font color to black and the fill to black so it would engrave my name. Also I changed the box around it to be red at a stroke of .0001 so it would cut out the name tag.

Then, it was quite simple from here. All I had to do was pick out some mat board and place it in the laser. Then I set it up all correctly like we have been taught and I hit the play button.

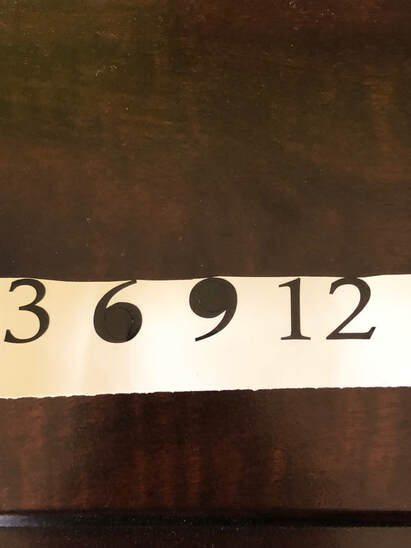
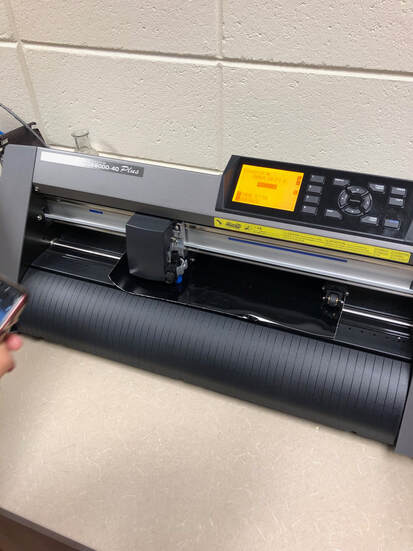
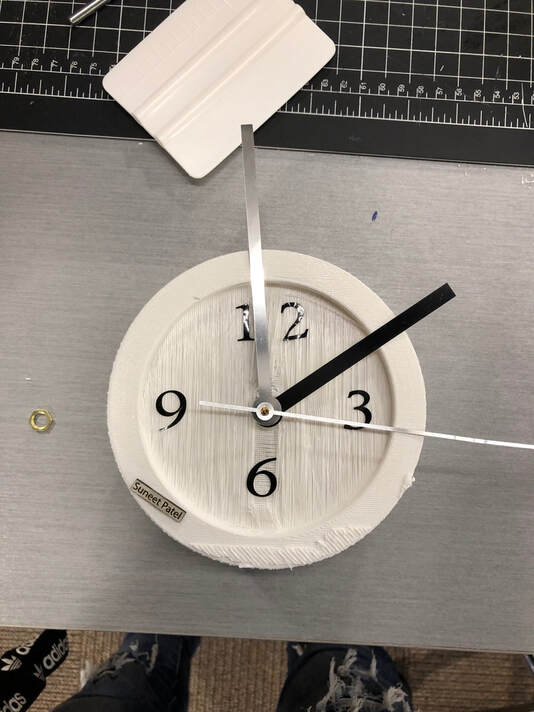
Step 3: Illustrator-Vinyl Cutter
For my third and final machine, I used the vinyl cutter. First I opened up Adobe Illustrator and created a new workspace. I then typed out the four numbers I wanted. "12, 3, 6, and 9". These were the four numbers I wanted on my clock. I then created outlines for these numbers.

Then all I had to do was cut out the decal. I went to Mrs. Proctor's room to cut them out because the vinyl cutter in the lab was down at the moment. I cut the vinyl out in black because my clock base was white. I felt that it would make the numbers pop out.
Digital Documents

|

|

|
|
Equipment

|
|

|
Working On My Project
Final Project
Summary
In this final project, I learned a lot of things. I learned that you have to be very creative. You have to be creative because it is hard to implement three different machines for one project efficiently. I also learned that getting a head start on your project is probably a good idea. I only had 2 class periods and 4 contact times to start and finish my project. Although it wasn't a lot of time, I managed to get my final project done along with my website. Although this project was hard to design at first, it got much easier and I enjoyed working on this project. By far the best project I have done in this years IDEA class.
