Idea To Creation
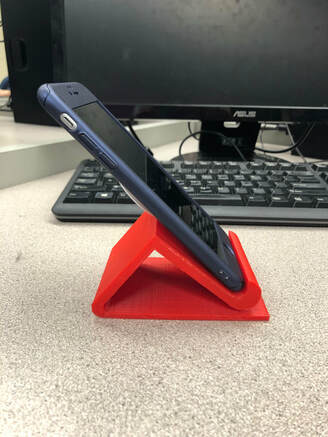
The design for my phone holder was not a original. This idea/design came from the internet and applied my own twist to it. I made sure that the base was long enough to hold a phone with more weight.
Pre-Search
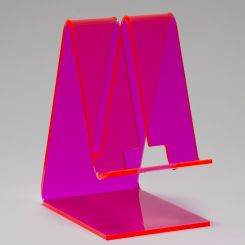
My design for my phone holder originated from this design. I took this design and re-designed it.
Recipe
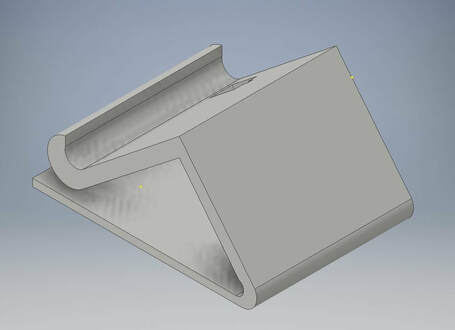
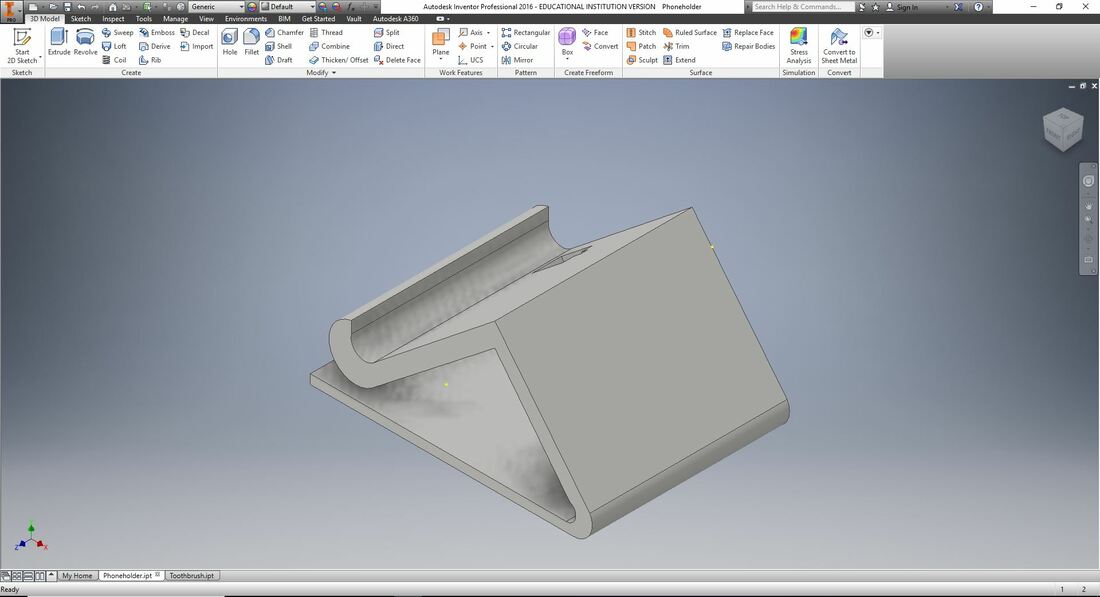
I first started by exploring and finding a design that I could twist up and make unique. I wanted something that was stable and able to hold a larger and heavier phone. Then, I started designing in a software called, Adobe Illustrator. Designing took me two class periods. I had first started off creating a toothbrush holder, but then realized that I want to create a phone holder.
|
|
Digital Documents
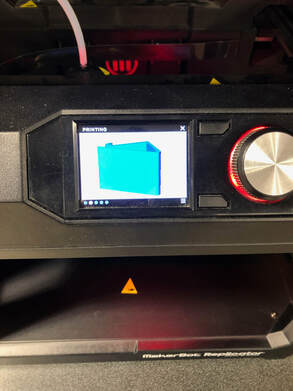
Setting Up Maker-bot
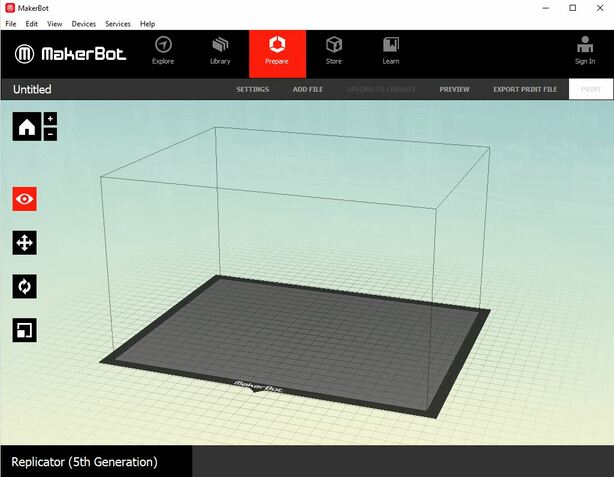
Setting up Maker-bot has several steps. First you want to pull up your file in maker bot. Next you want to lay it flat and add supports if you need. Then, you want to scale your design as needed. You want to make sure that you have smart extruder + checked. Also rotate the design in maker bot if needed.
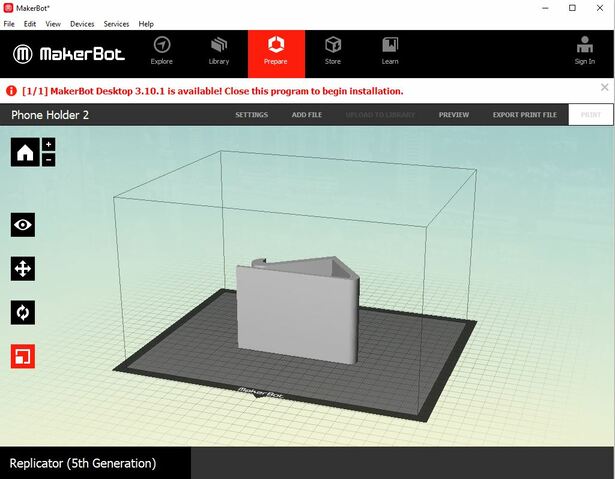
Screenshot of Maker-Bot Preview Screen
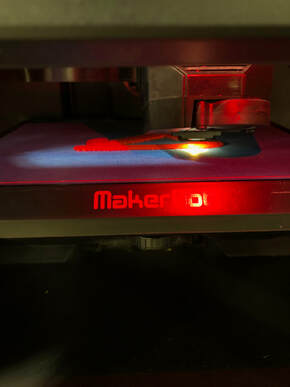
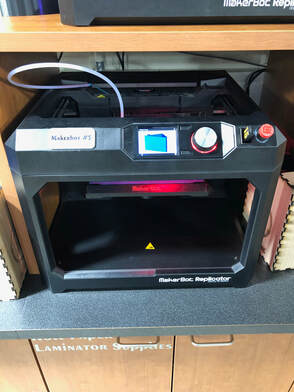
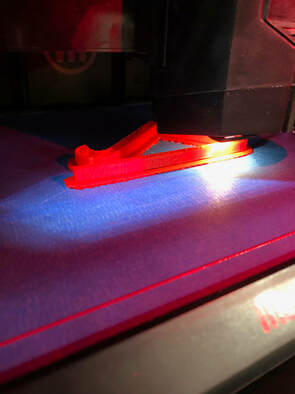
Photos Of Machine Being Used
|
|
|
|
Final Project

|

|

|
|
What Did I Learn?
After completing the final project, I learned that designing and creating a 3D project using inventor is not easy. I also learned that using the 3D printer is not that hard at all. The hardest part is probably loading the filament with the help of an instructor or teacher. I also learned about supports during this rotation. Supports are need if you have something with an overhang or something that wont print on top of each other. I also learned how to properly engrave something into your project using inventor. You do this by using the extrude tool and extruding it less then the actual width of your project. During this rotation, I learned how to design those curves and actually build them using inventor. For example, the curve that holds the phone. During this rotation, I learned a lot more about inventor and learned about more tools that are within the reservoir of inventor.
