What Is Illustrator?
Adobe Illustrator is primary used to create vector designs and images. Illustrator is used to create artwork on the laser and the vinyl cutter. When using Illustrator, you can create logos, cartoons, graphics, etc. You can use Illustrator with UPC to create designs on the laser. Illustrator allows you to be creative and adventurous through art. Illustrator is used by artist and graphic designers, as well as students.
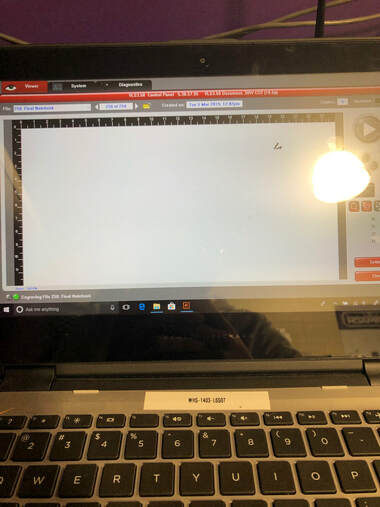
Illustrator File For The Laser
|
|
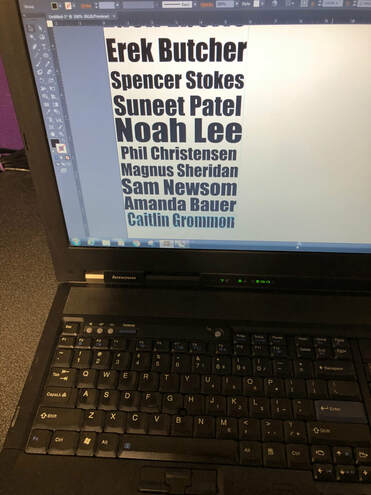
Illustrator File For The Vinyl Cutter
Step By Step Instruction For Using The Laser
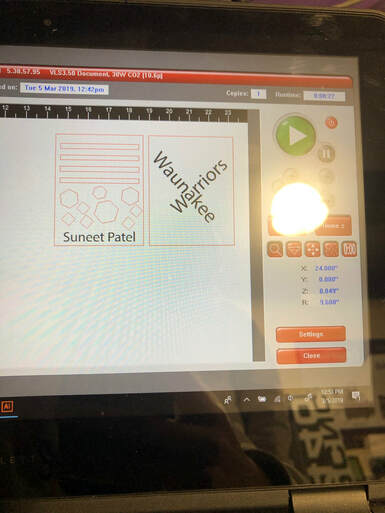
The first thing you want to do when you get to the laser is pull up the Illustrator file from either your H Drive or flash drive. You then want to print it to VLS6.60 or VLS3.50. Hit print so then the UCP Software loads up.
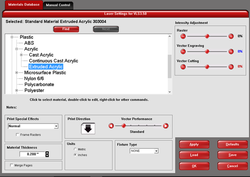
Next, the UCP Software will open up and it will look like this. You first want to measure your material using the caliper. Then, go under the materials tab and choose the proper material as instructed by your instructor. After that, you want to put the material measurement under "Material Thickness" in the bottom left corner. Then hit OK.

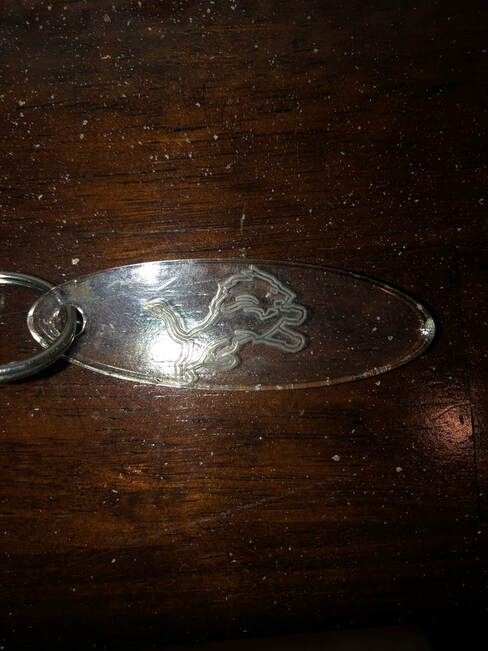
Lastly. you will want to make sure your design pops up on the grid. After that is verified, you want to make sure that the laser is corresponded with the artwork and on the material itself. Move the design to the top right corner on the software screen. Then, you will want to use the focus tool and check the corners on the design by clicking them. While doing that, you will want to check the material and see and if the laser lines up in all 4 corners.
Final Product
Step By Step Instruction For The Vinyl Cutter

I first started by putting my name on the work space using the text tool. We then created outlines for the text, so that the vinyl cutter could read it.
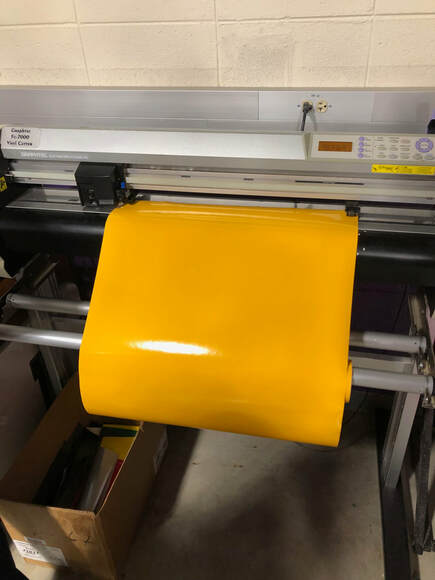
We then watched Mrs. Proctor load the yellow vinyl into the actual vinyl cutter. When loading the vinyl, you have to lift of the wheels and line everything up.
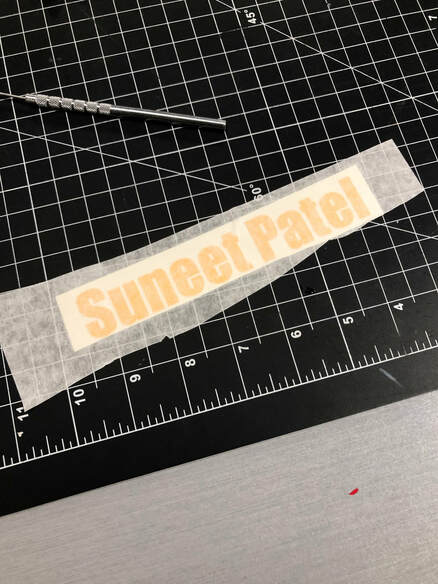
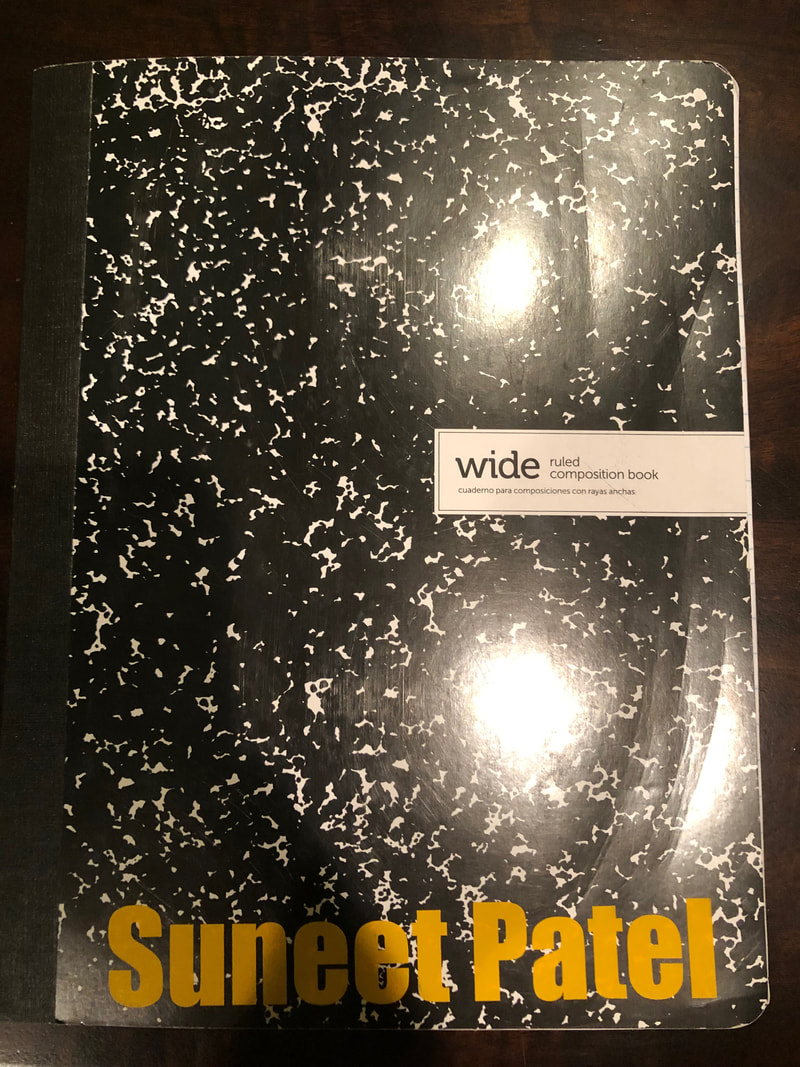
After your vinyl is cut out, you have to remove any excess vinyl outside your name and inside. You do this by using the dental tool provided. Then you apply the transfer tape.
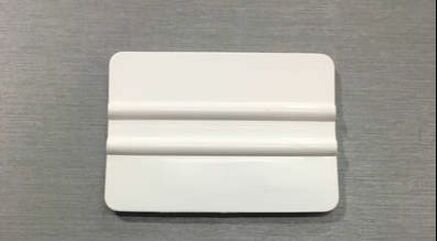
Next, you apply the decal on the object of your choice (in this case, a notebook) you use the rubber scraper and you flatten on the transfer tape on the decal so it sticks to the tape. Then you apply the decal on the notebook with the transfer tape, and again, use the rubber scraper to flatten on the decal on the notebook. After that slowly peal the transfer tap.
Final Product
Summary
So far in Idea, we have used Inventor and Illustrator. I feel like Inventor is a more complex program to use and Illustrator is much more user friendly and easy to use. Inventor creates 3D designs and Illustrator create 2D designs. I learned key vocabulary such as vector images and raster images. Raster images are more pixelated as vector images are much more smooth and less pixelated. I also learned black lines and red lines. Red lines are used to cut something out and for this projected we used a scale of .0001. Black lines are used to engrave something out such as texts or logos. Throughout this project, I used illustrator for the key chain and the vinyl cutout for my designer notebook. Overall I enjoyed creating new things using Illustrator and hope to do more work with it in the near future!
